¶ Start WIPERAPP ISO
After downloading the WIPERAPP ISO and flashing it onto a USB drive, the next step is to launch the WIPERAPP interface to configure your system settings, manage data wiping tasks, and initiate secure data erasure on the selected devices. This document provides clear, step-by-step instructions to help you start the WIPERAPP application seamlessly.
Let’s get started 🚀
ATTENTION: Before you begin, disable Secure Boot on your computer. If you're unsure how to do this, follow the Turning Off Secure Boot documentation.
Step 1: Connect the WIPERAPP ISO flash drive to the system where you want to wipe the disks.
Step 2: Press the Power ON button to start the system.
Step 3: Launch the Boot Menu (LEGACY or UEFI). Different manufacturers use different keys to access the Boot Menu, as detailed in the table below.
TIP: It is advisable to repeatedly press the designated key during system startup until the boot menu appears.
| Manufacturer | Launch Boot Menu |
| ACER | Esc, F12, F9 |
| APPLE | Option |
| ASUS | F8, Esc |
| DELL | F12 |
| HP | Esc, F9 |
| INTEL | F10 |
| LENOVO | F12, F8, F10 |
| SAMSUNG | F12, Esc |
| SONY | F10, F11 |
| TOSHIBA | F12 |
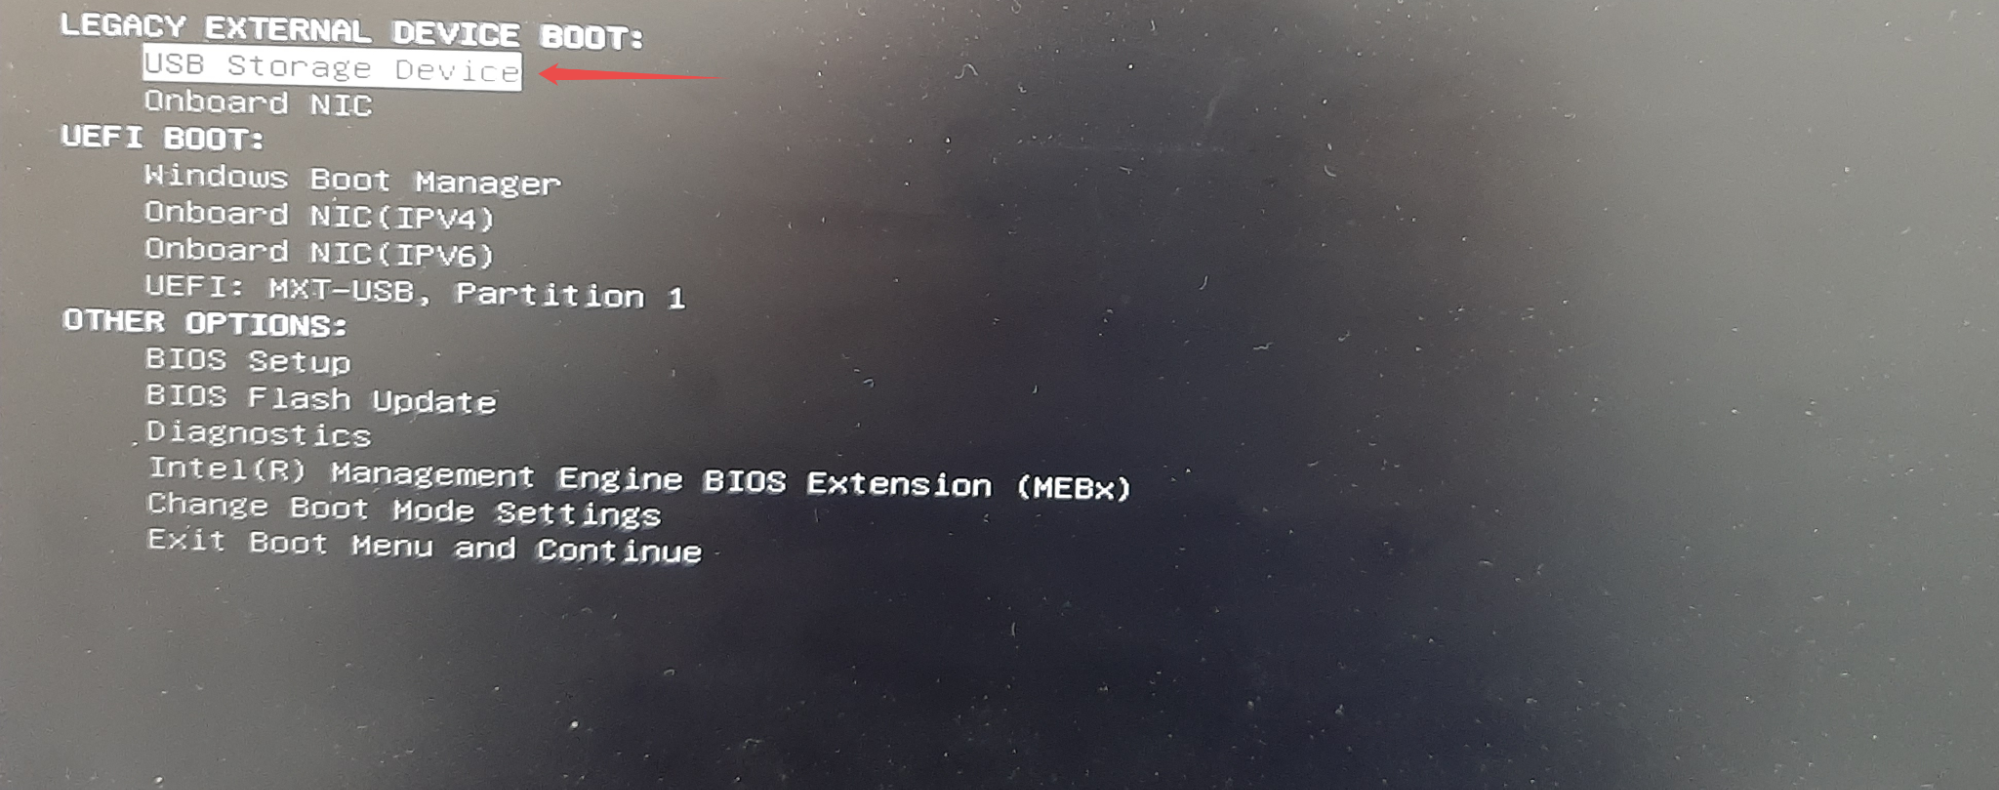
¶ LEGACY (Secure Boot:OFF)
Legacy Boot Mode, with Secure Boot off, enables older operating systems to boot on current hardware, offering compatibility with systems that do not support UEFI. From the Boot Menu, choose the WIPERAPP Flash drive to proceed.
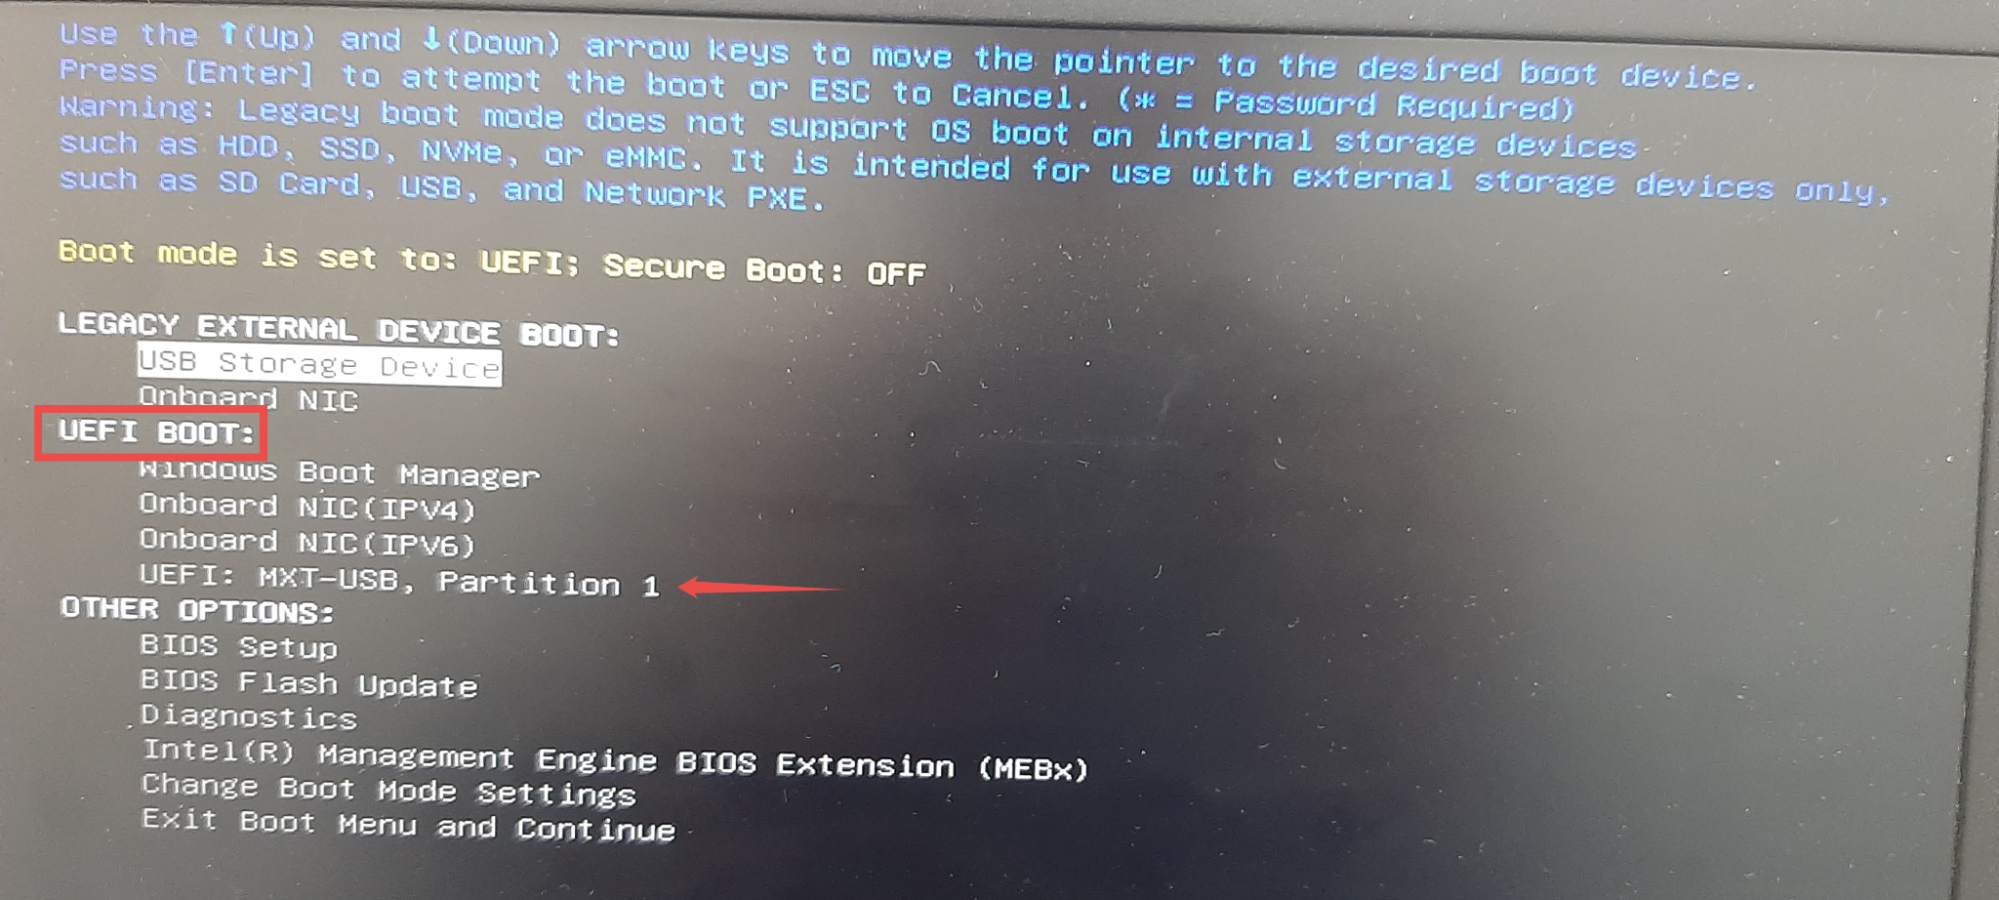
¶ UEFI (Secure Boot:OFF)
UEFI offers an advanced framework for managing system firmware, with Secure Boot ensuring only verified software runs during startup. If Secure Boot is enabled, it may prevent WIPERAPP from launching correctly, make sure it’s disabled before proceeding.
From the Boot Menu, select the WIPERAPP Flash drive to proceed.
¶ APPLE (with an INTEL processor)
Step 1: Power On the Computer: Press the POWER button to turn on your device.
Step 2: Access the Boot Menu: Immediately press and hold the OPTION key until the boot menu appears.
Step 3: Select the USB Drive: From the boot menu, choose the USB drive containing WIPERAPP to proceed.
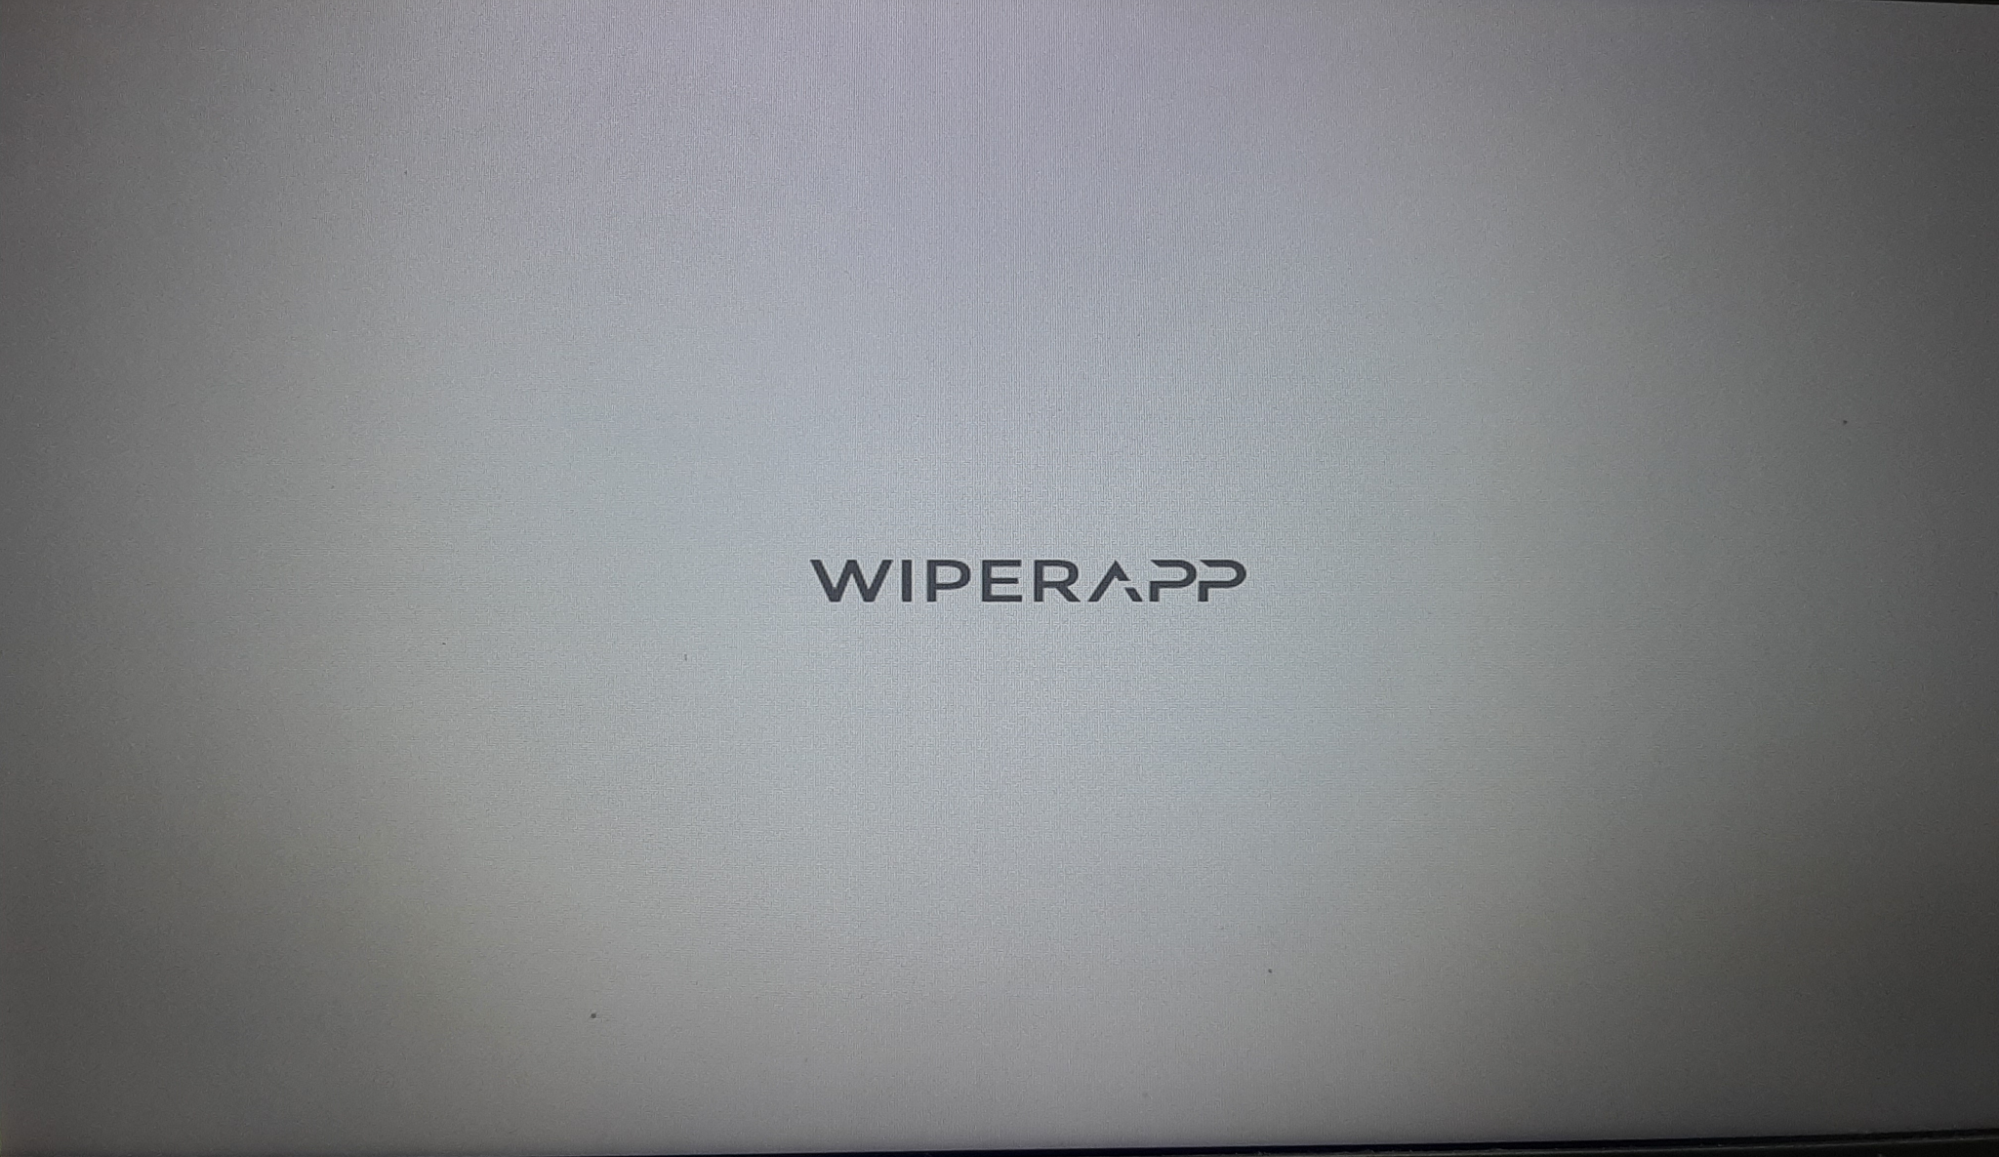
¶ Wait for WIPERAPP
Once you have selected the USB drive with WIPERAPP from the boot menu, wait for the application to load. The boot process may take a few moments depending on your system’s speed. Ensure that the USB drive remains connected during this time.
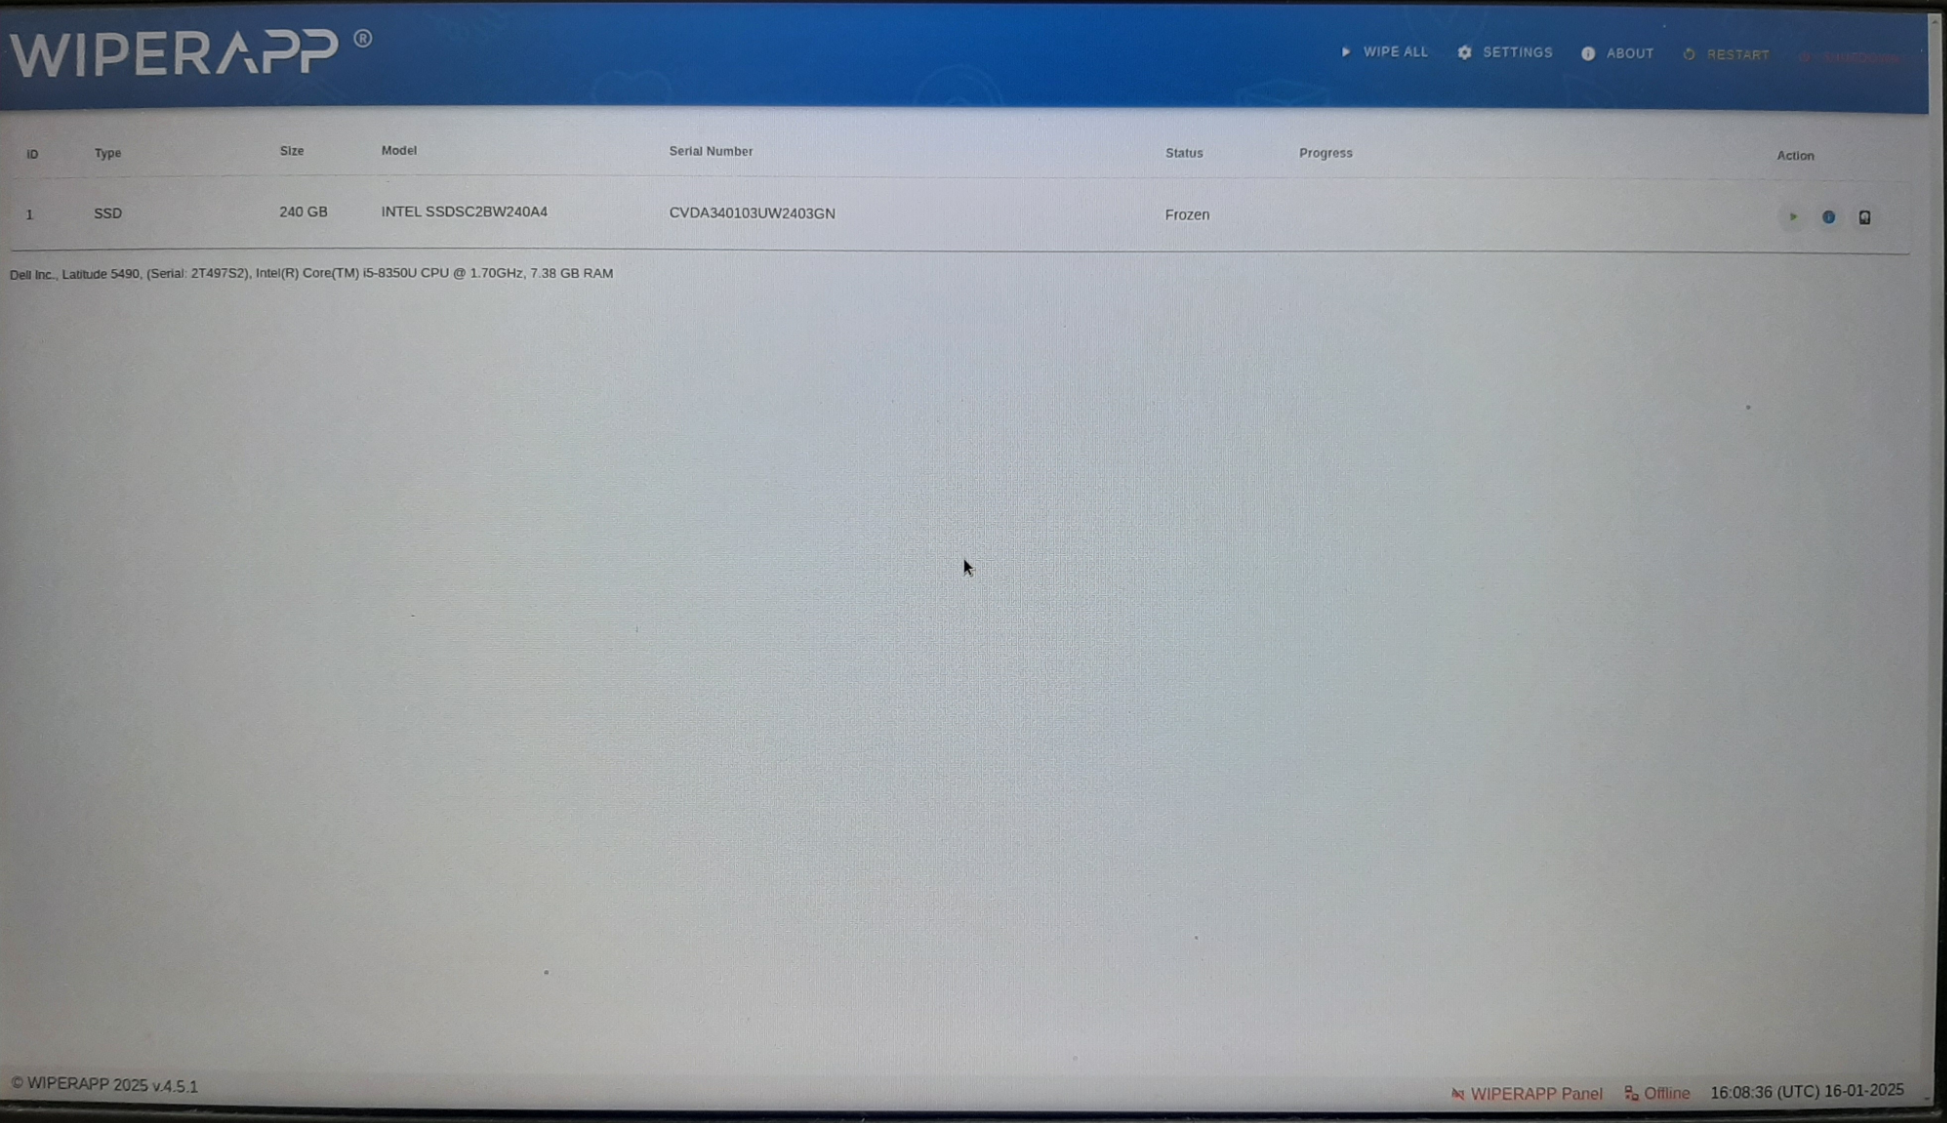
NOTE: During the first boot, WIPERAPP will automatically create a special WIPERAPP partition containing a 'wiperapp' directory. This directory is essential for storing the Token (key.wiperapp) required for authentication.
Once fully loaded, the WIPERAPP interface will appear as shown below.
The next step is to create a token for verifying your account. To know how to create a token, go to Creating a Token documentation.