In order to use the WIPERAPP, you need to prepare a Flash Drive by writing the WIPERAPP ISO file onto a USB drive. This USB drive or Flash drive will be used to wipe the desired disk of a system. The process is demonstrated using “Etcher”, a free and user-friendly application that simplifies the flashing of ISO files onto USB drives or SD cards.
Let’s get started 🚀
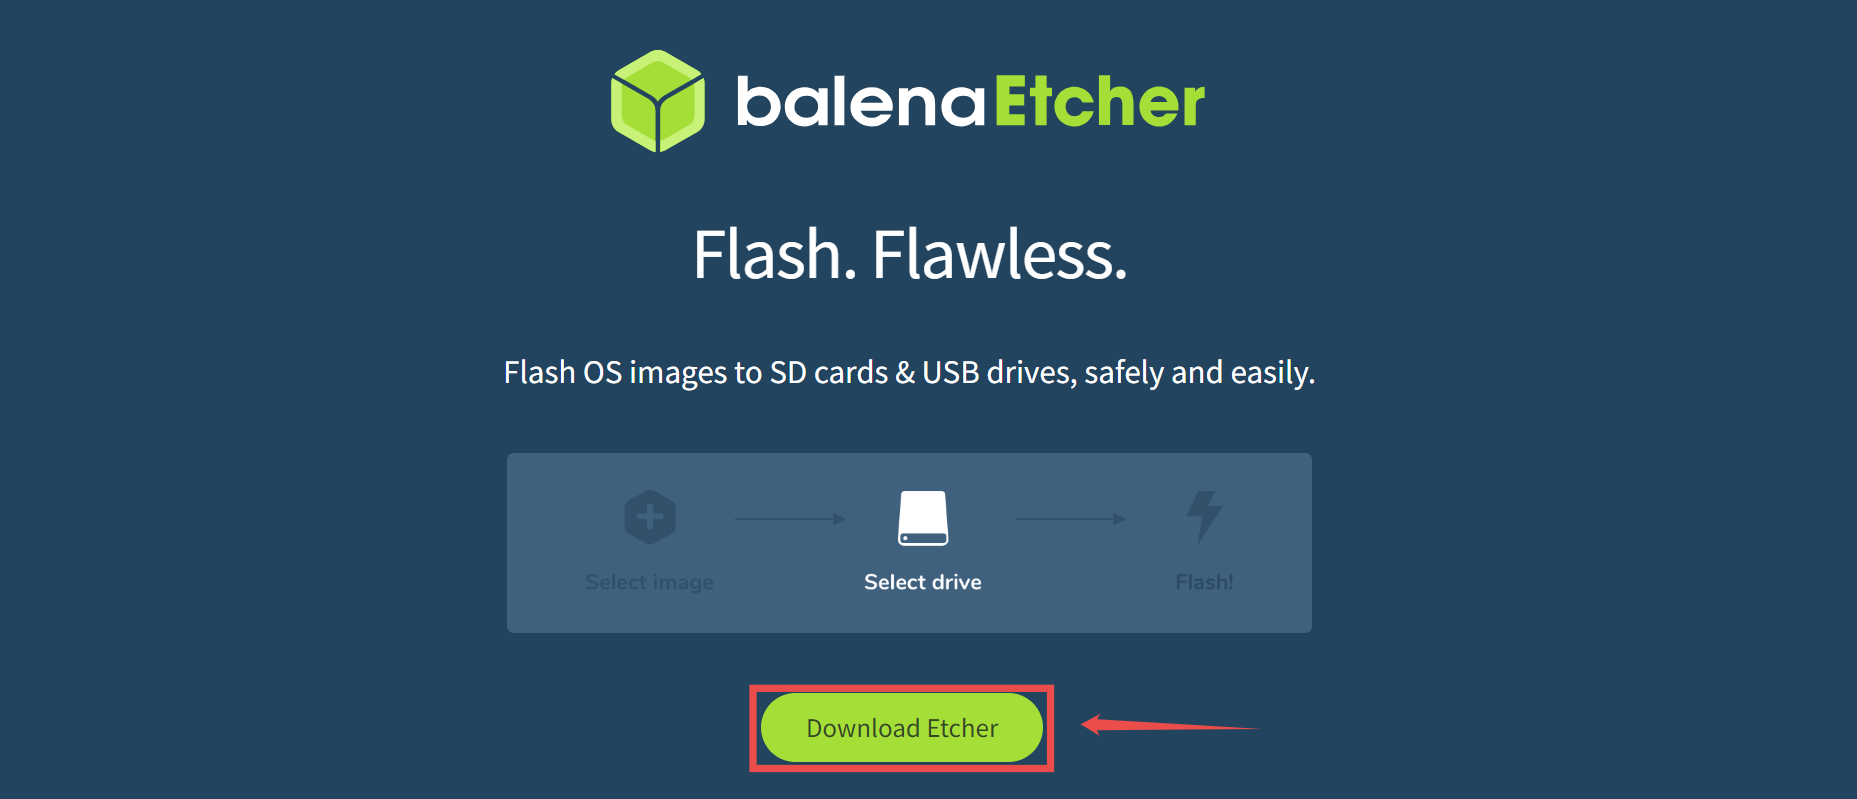
Step 1: Navigate to https://etcher.balena.io/ and click on the Download Etcher button to download the appropriate version as per your current operating system.
Step 2: Start the Etcher application and click on the Flash from file button to select the downloaded WIPERAPP ISO file.
TIP: Before launching the Etcher application, we recommend temporarily disabling your antivirus program, as it may interfere with the process of writing the ISO file to the USB drive.
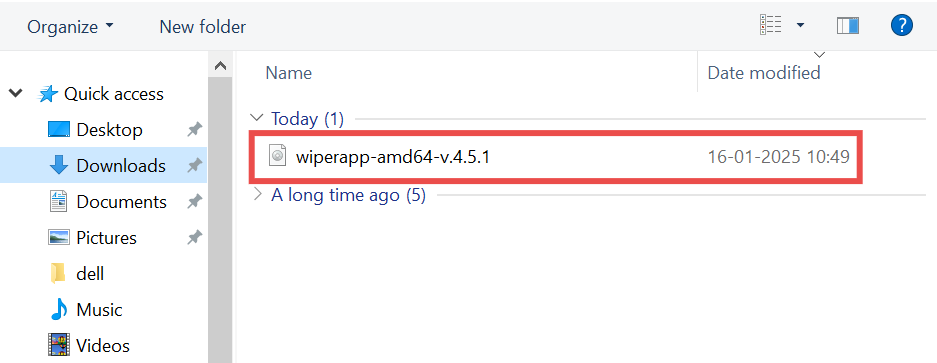
Step 3: Select the WIPERAPP ISO file by navigating to the destination where you have downloaded it.
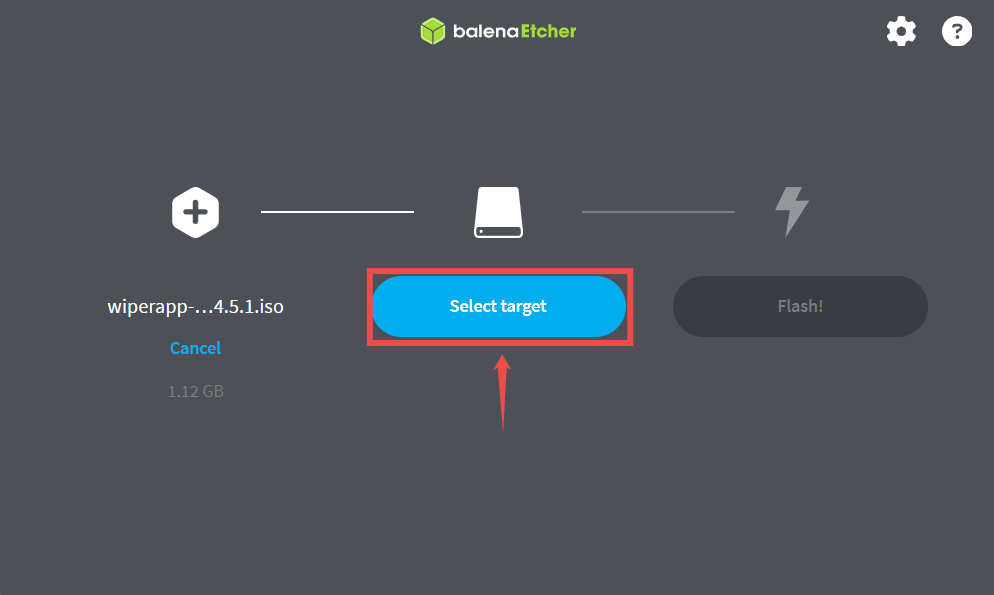
Step 4: After selecting the WIPERAPP ISO file, specify the target drive where the ISO file will be flashed by clicking on the Select Target button.
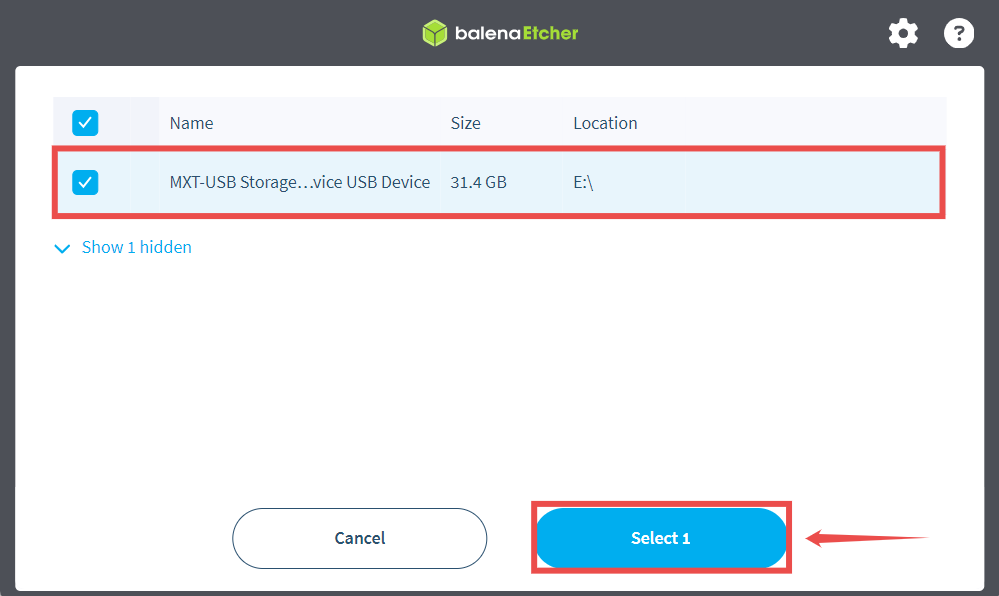
Step 5: Connect your flash drive to the system where you intend to flash the WIPERAPP ISO file and select the same from the list. Click on the Select button to continue.
TIP:For an efficient flashing process, it's better to use a USB 3.0 drive with a minimum storage capacity of 2GB.
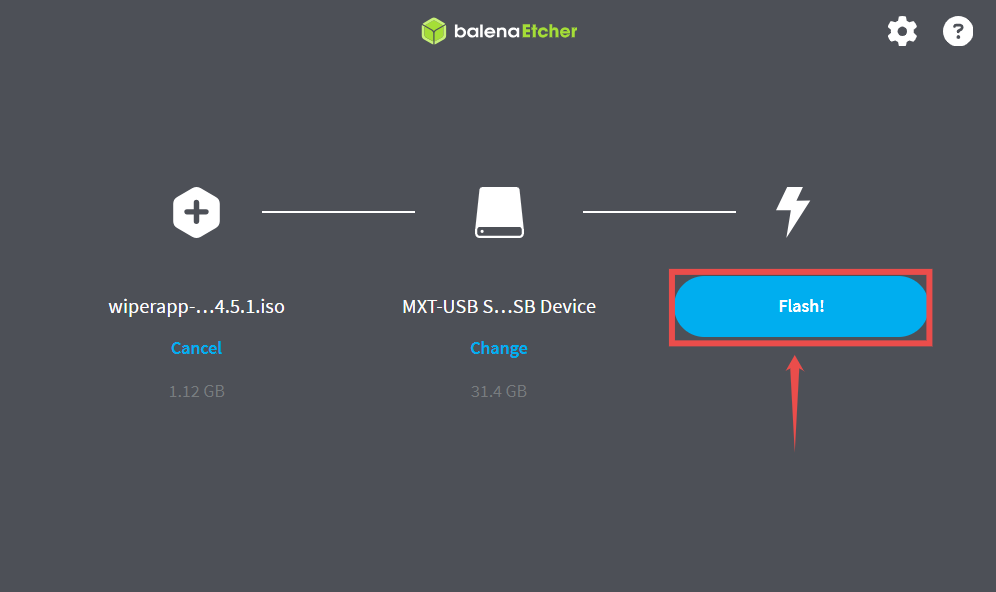
Step 6: Start preparing the flash drive by clicking on the Flash button.
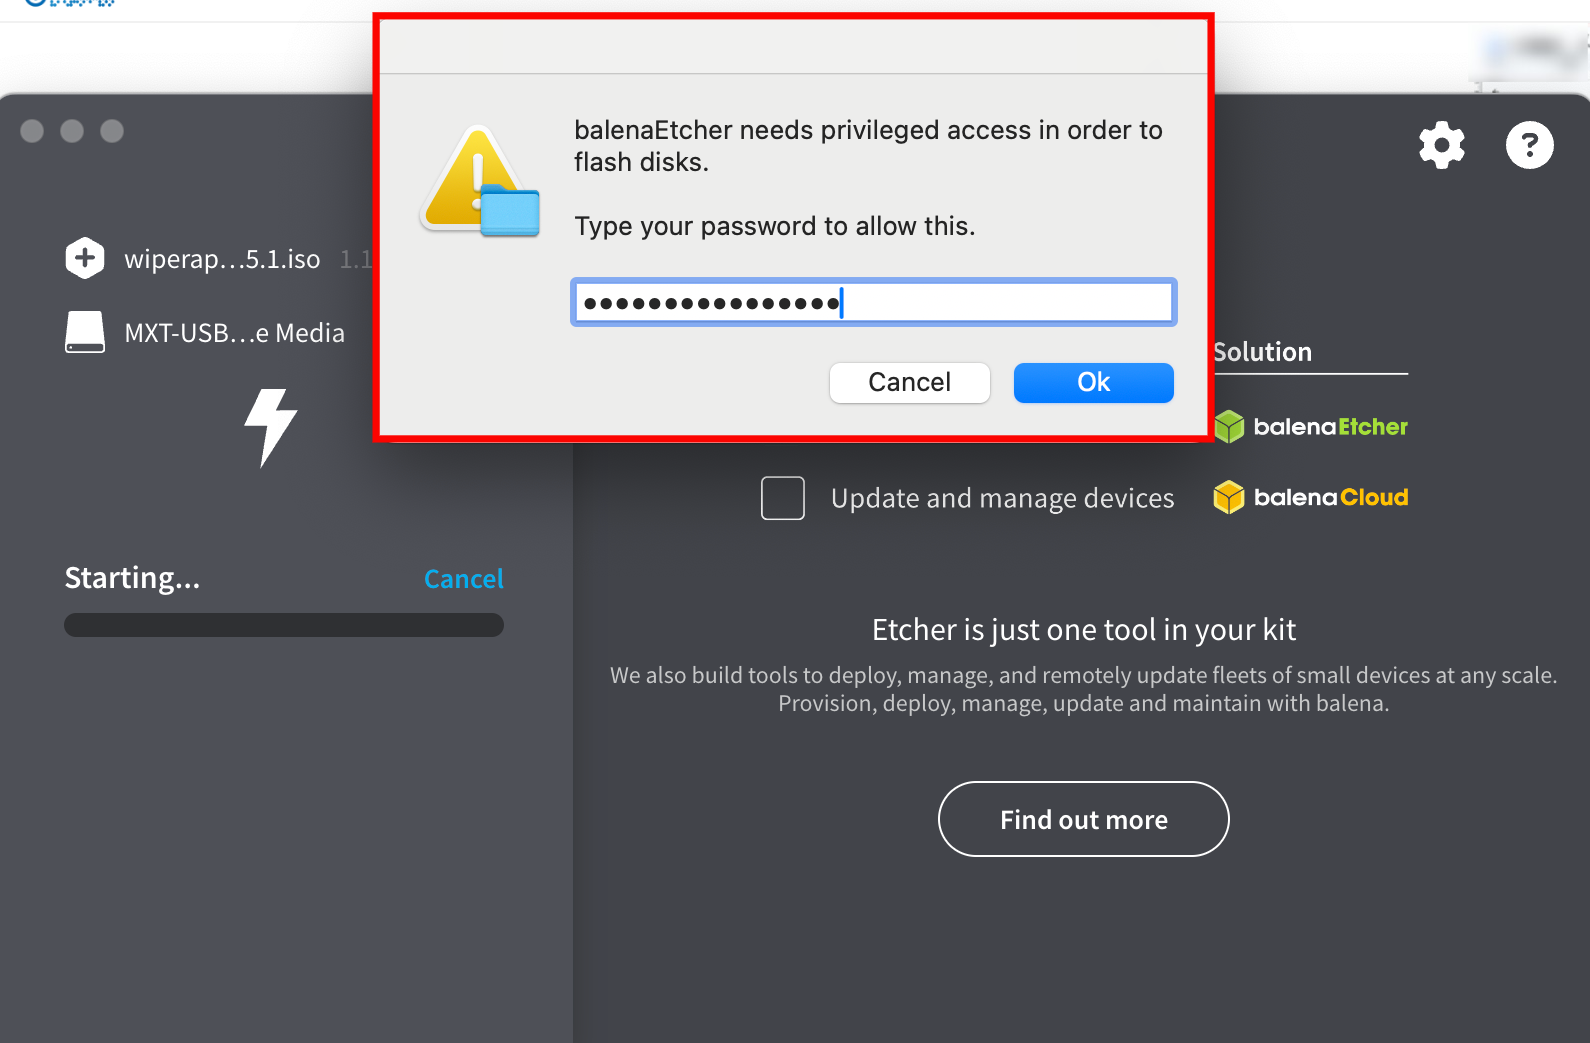
NOTE: Etcher needs Privileged access in some cases to flash disks, you might be requested to enter the System password to allow this.
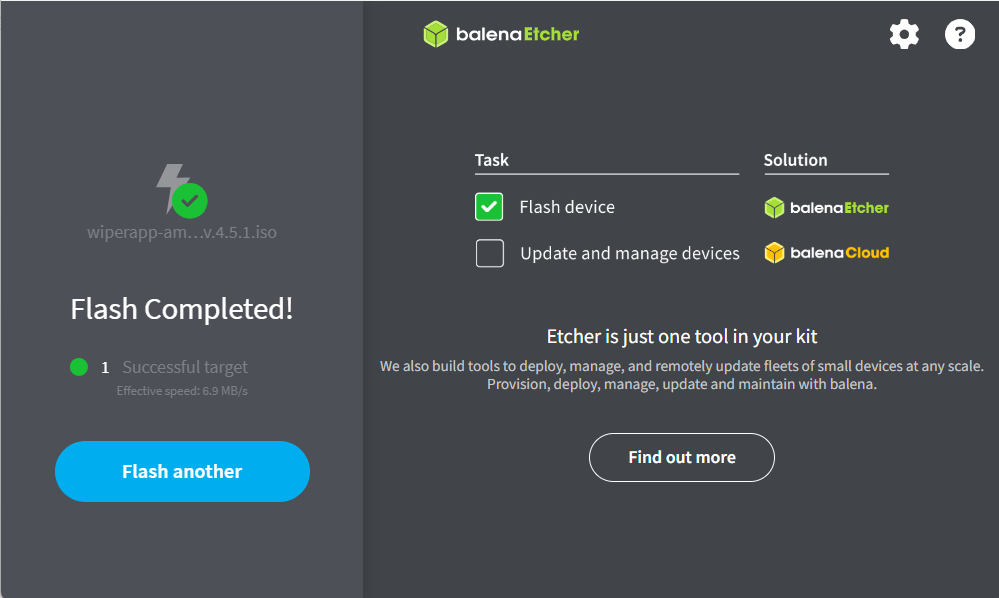
The flashing of the ISO file will be completed successfully, but please note that it will take some time.
After successfully preparing a flash drive, the next step is to start using the WIPERAPP on the system where you want to wipe the drive. To know how to start the WIPERAPP, go to Start WIPERAPP ISO documentation.