After completing the required preparation steps, the Wiping iOS Device process ensures secure and irreversible deletion of all data on the selected iPhone. This prevents any possibility of data recovery and helps maintain user privacy.
This documentation provides step-by-step instructions to carry out the iOS data-wiping process efficiently using WIPERAPP.
Let’s get started 🚀
ATTENTION: WIPERAPP requires the computer system used for data wiping to be connected to the Internet via a LAN cable (RJ45) or by using USB tethering to share the Internet from a mobile phone via a USB cable.
It is important to note that the phone used for tethering must not be the device scheduled for wiping.
The Internet is needed solely to authenticate the token and verify the purchased licenses. After the wiping process starts, the Internet connection is no longer required.
Step 1: Connect the iOS device, on which you have configured the settings for a successful wipe, to your computer using a USB cable.
IMPORTANT: Please ensure that WIPERAPP is already running. If you connected the iOS device before launching WIPERAPP, disconnect the device and then reconnect it.
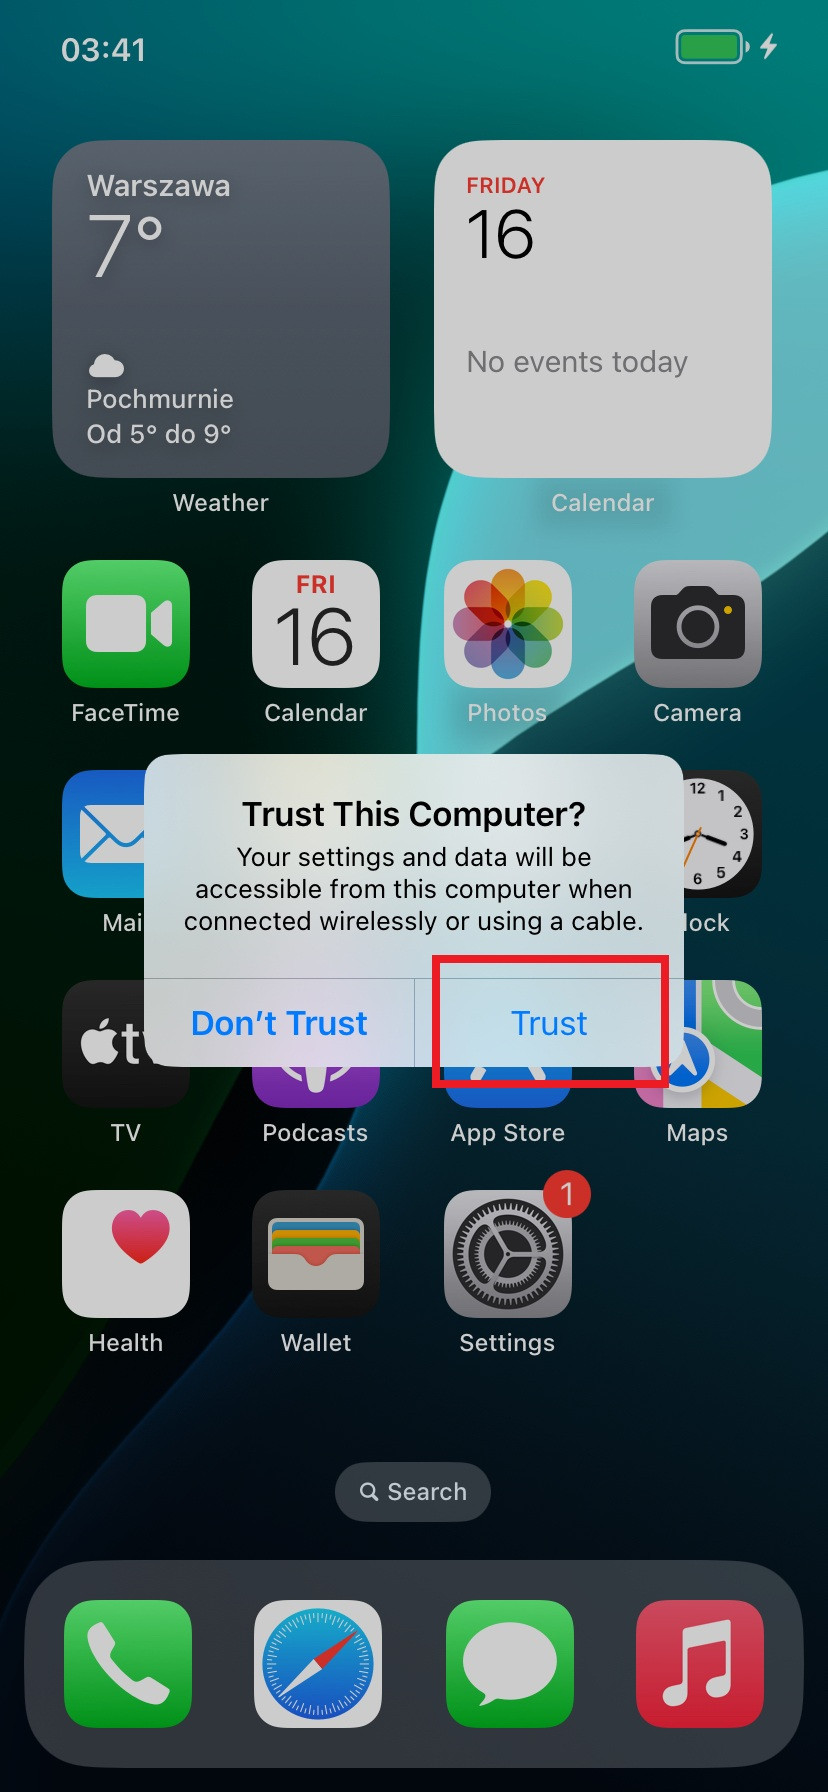
Step 2: A pop-up appears on the device, prompting you to authorize the computer. Click the Trust button to proceed.
IMPORTANT: If the WIPERAPP doesn't reflect recent changes made on the iOS device, disconnect and reconnect the USB cable. This is often required after adjusting settings on the phone to ensure it is properly detected.
NOTE: If the device does not show as Idle in WIPERAPP, unplug it and then reconnect it.
The device should appear as type iPhone, status Idle, with the correct iPhoneModel, manufacturer, and size.
IMPORTANT:Ensure that the Find My iPhone (FMIP) feature is disabled. To verify this, click the Information button located next to your iOS device.
A Model Device Information modal will appear on your screen and display a range of details about your iOS device. If the FMIP field displays an N/A value, it signifies that the Find My iPhone feature is turned off.
Step 3: Navigate to the SETTINGS from the Client Control Panel to choose the correct WIPE method.
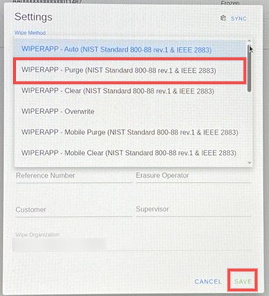
Step 4: Click on the Wipe Method dropdown to choose data-wiping methods that comply with industry standards, ensuring secure and irreversible data erasure.
IMPORTANT: Only the WIPERAPP Auto, WIPERAPP Mobile Clear, and WIPERAPP Mobile Purge methods work with the Mobile devices.
Step 5: For demonstration purposes, we will use the WIPERAPP - Purge method to carry out the wiping process. Once you select the WIPERAPP - Purge method, click the SAVE button to save the changes.
Step 6: Click the Play button to begin the wiping process.
Step 7: Click on the WIPE button to proceed.
The wiping process will initiate on the mobile device and will progress through four defined stages of completion: 0%, 33%, 66%, and 100%, indicating the successful execution of the wipe.
INFO: At 66%, the phone might light up, reboot, or display reset screens. This is normal behavior. Do not disconnect the device while the wipe is in progress.
The status will change to Wipe Success once the wiping process completes successfully. At that point, you may unplug the phone.
NOTE: Please wait for the device to finish its internal reset and display the welcome or setup screen before proceeding.
INFO: The WIPERAPP will continue to display the phone with a Wipe Success status and 100% progress until you restart the application.
INFO: If you want to wipe the phone again, you must run the wiperapp again.
NOTE: If the phone is disconnected before reaching 100%, it will result in a Wipe Error, and no certificate will be generated. You should retry the process using the same license and follow from Step 6 again.
Ensure the generated report reflects accurate and complete details of the process. Refer to theValidating Report CorrectnessDocumentation for step-by-step guidance on how to review and verify the report.